Photo mask: how to show the AI exactly what to change
Mask mode in NEIRON: mark an area with a brush and describe only that change in the prompt. How to turn it on, why the mark is pink, and what the AI actually sees.
When you attach several reference photos, a plain text prompt cannot always tell the AI which one to touch and where. Mask mode fixes that: mark the exact area on a photo before generation, and describe only that change in the prompt — the rest of the shot stays as a reference.
This is not a server-side inpainting mask — it is a bright visual mark baked into the photo itself, plus a short note NEIRON adds to the prompt automatically so the model knows what the mark means. You still write what to do with it.
How to turn it on
- Attach a photo in the “Media” block and hover the thumbnail — a pencil icon appears over it.
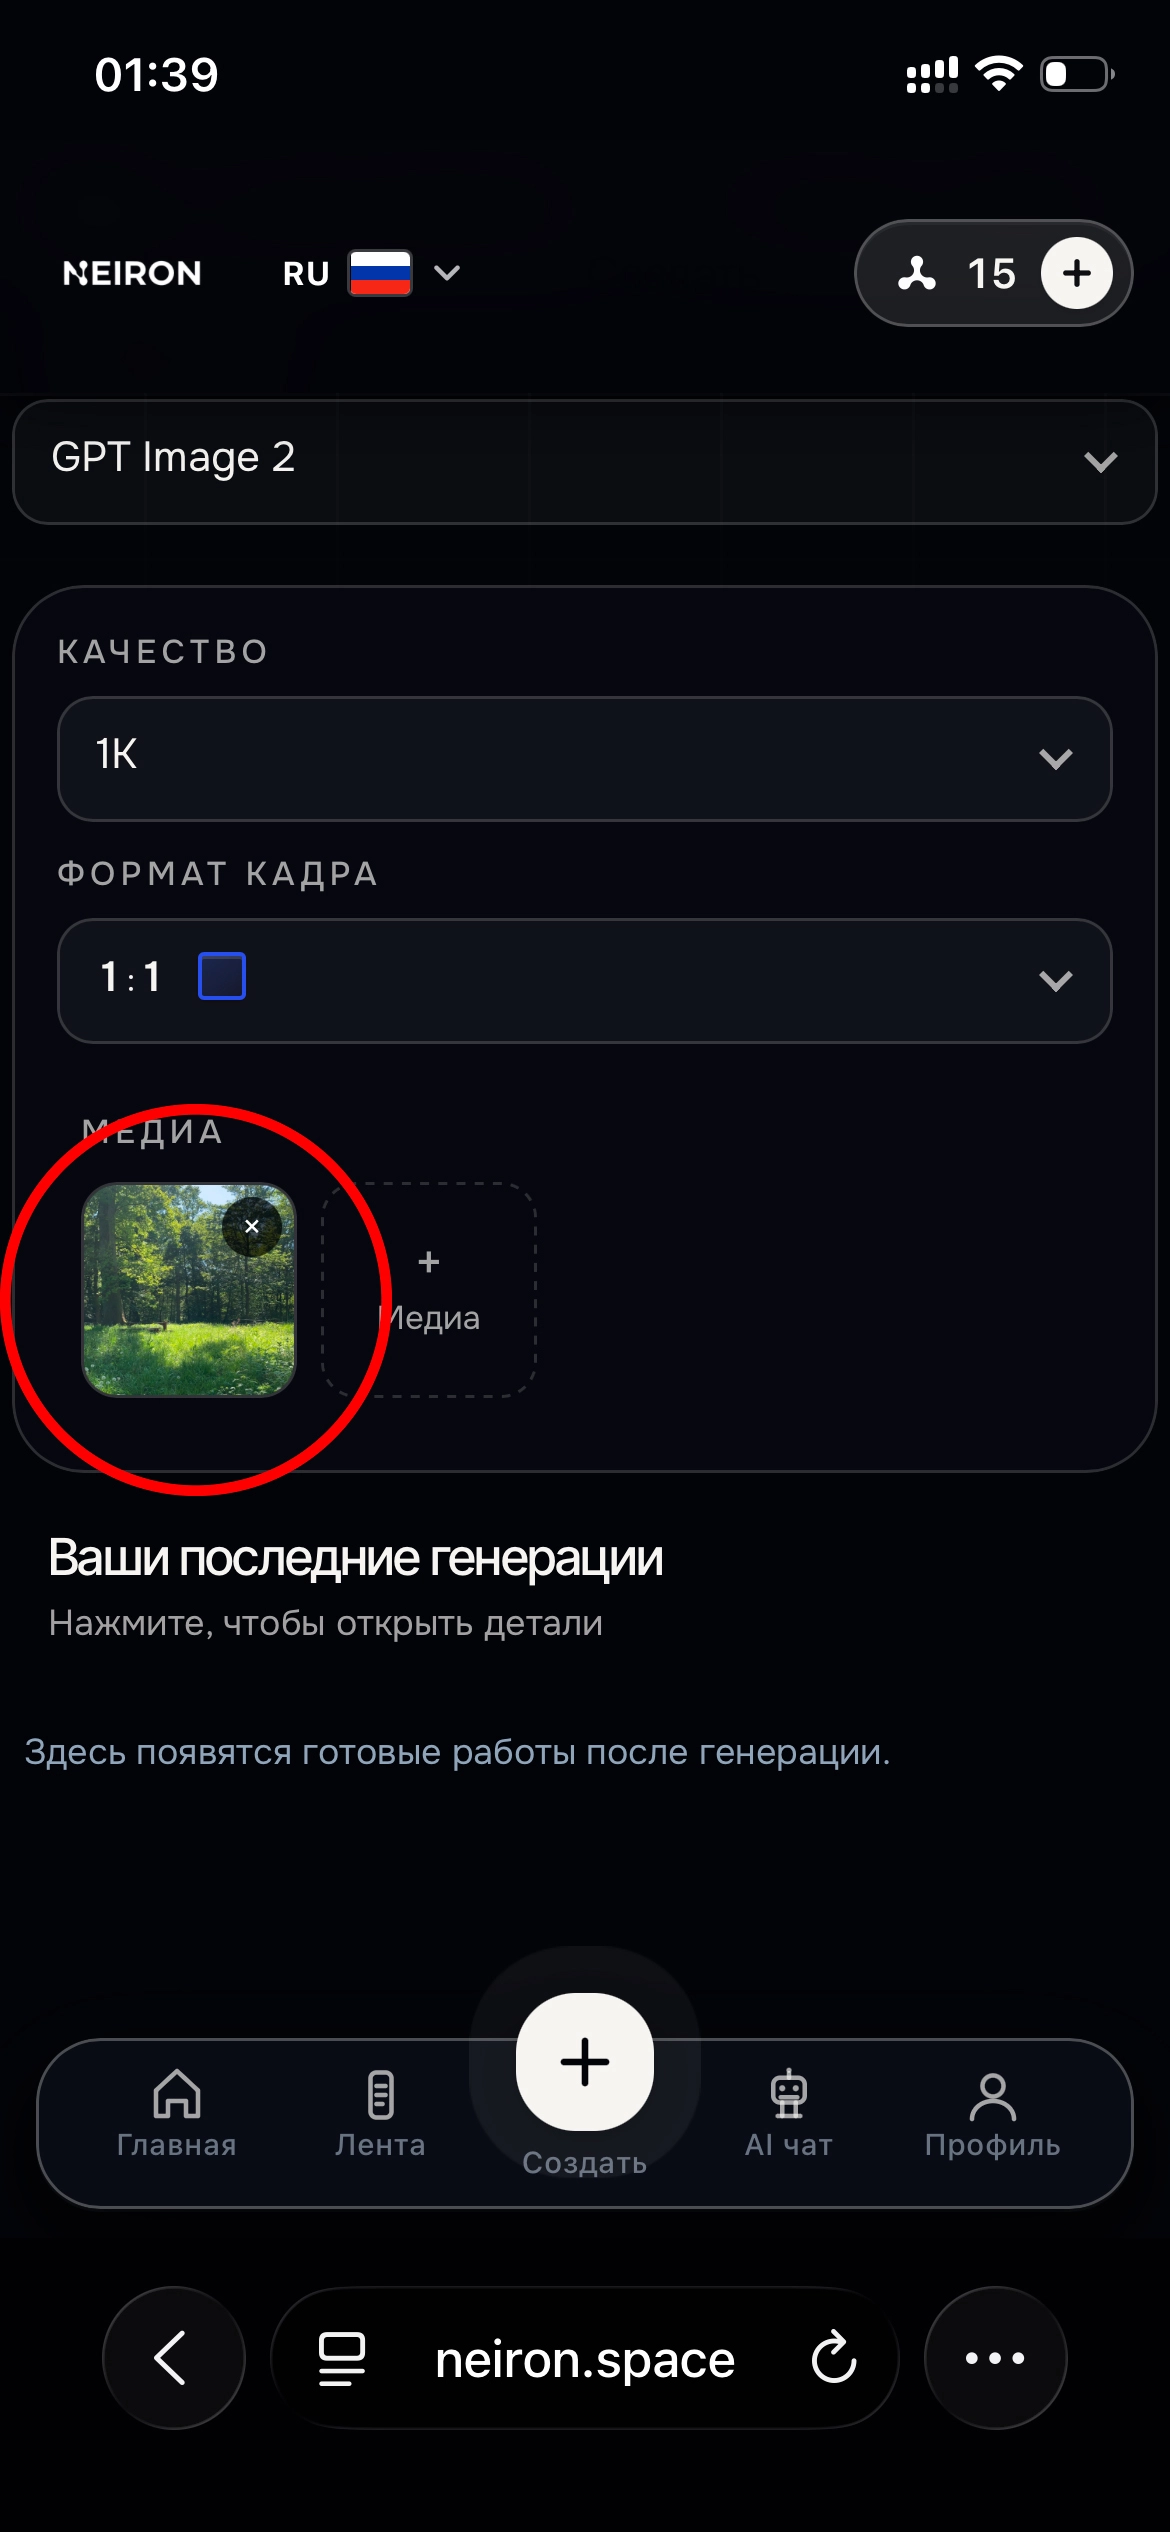
- Click it to open the full-screen viewer, then tap the brush button in the bottom toolbar — it is labeled “Add mask” on hover.
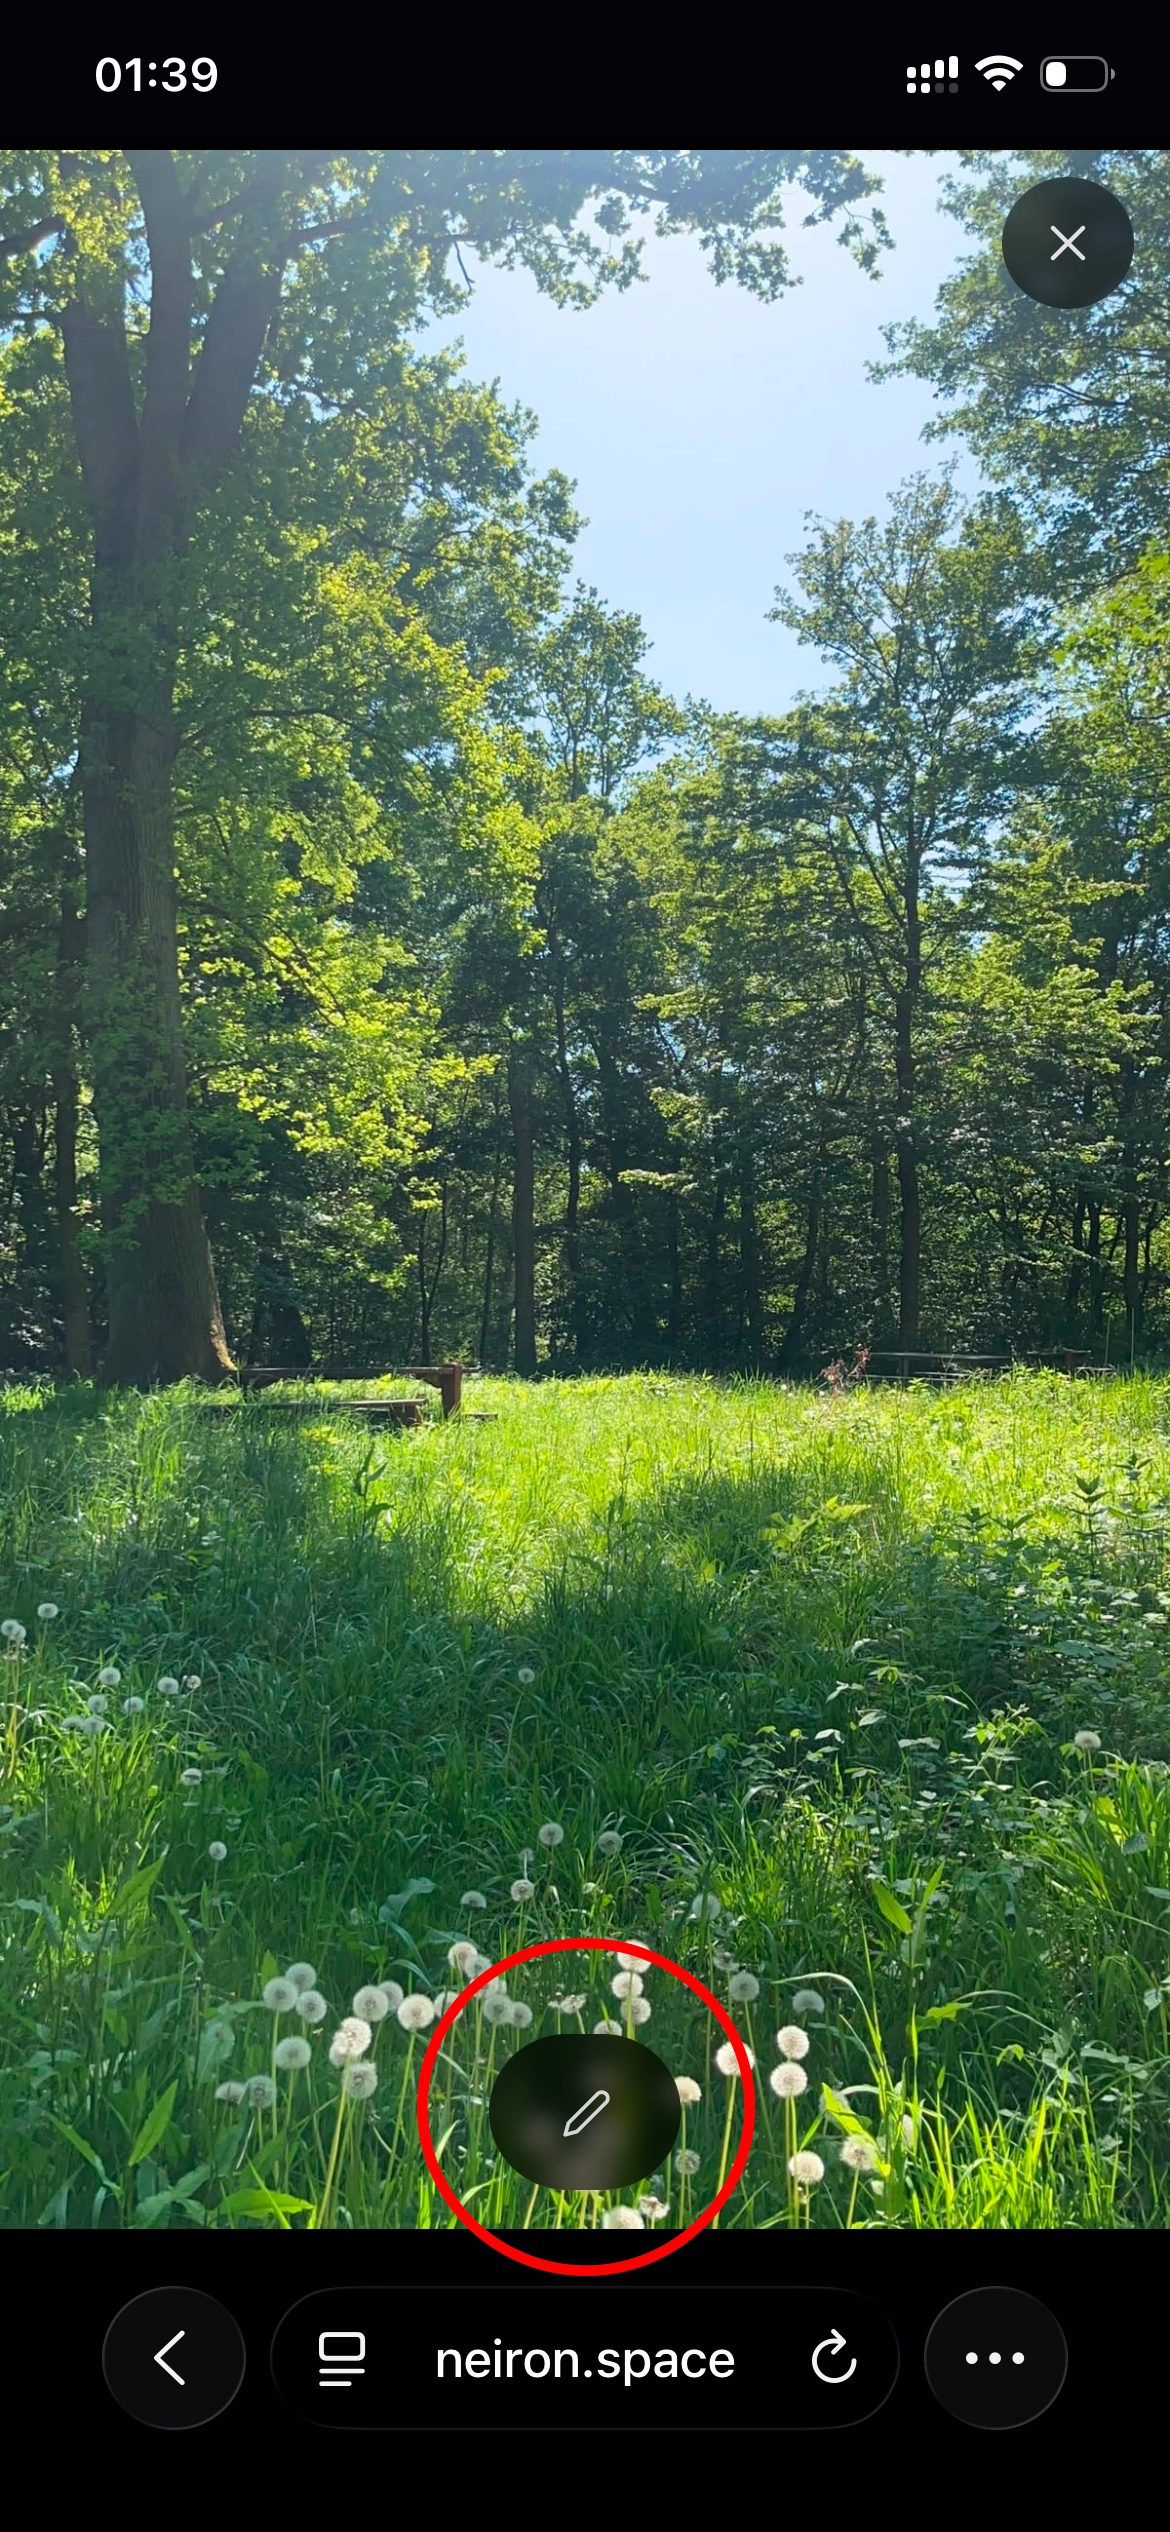
- Drag over the area you want changed. The stroke is bright pink on purpose — real photos rarely have that color, so the AI reads it as a mark, not as a shadow or a detail.
- Adjust the brush size with the slider. Made a mistake — “Reset” wipes the mark and returns the photo to the original; the pencil icon lets you draw again from scratch.
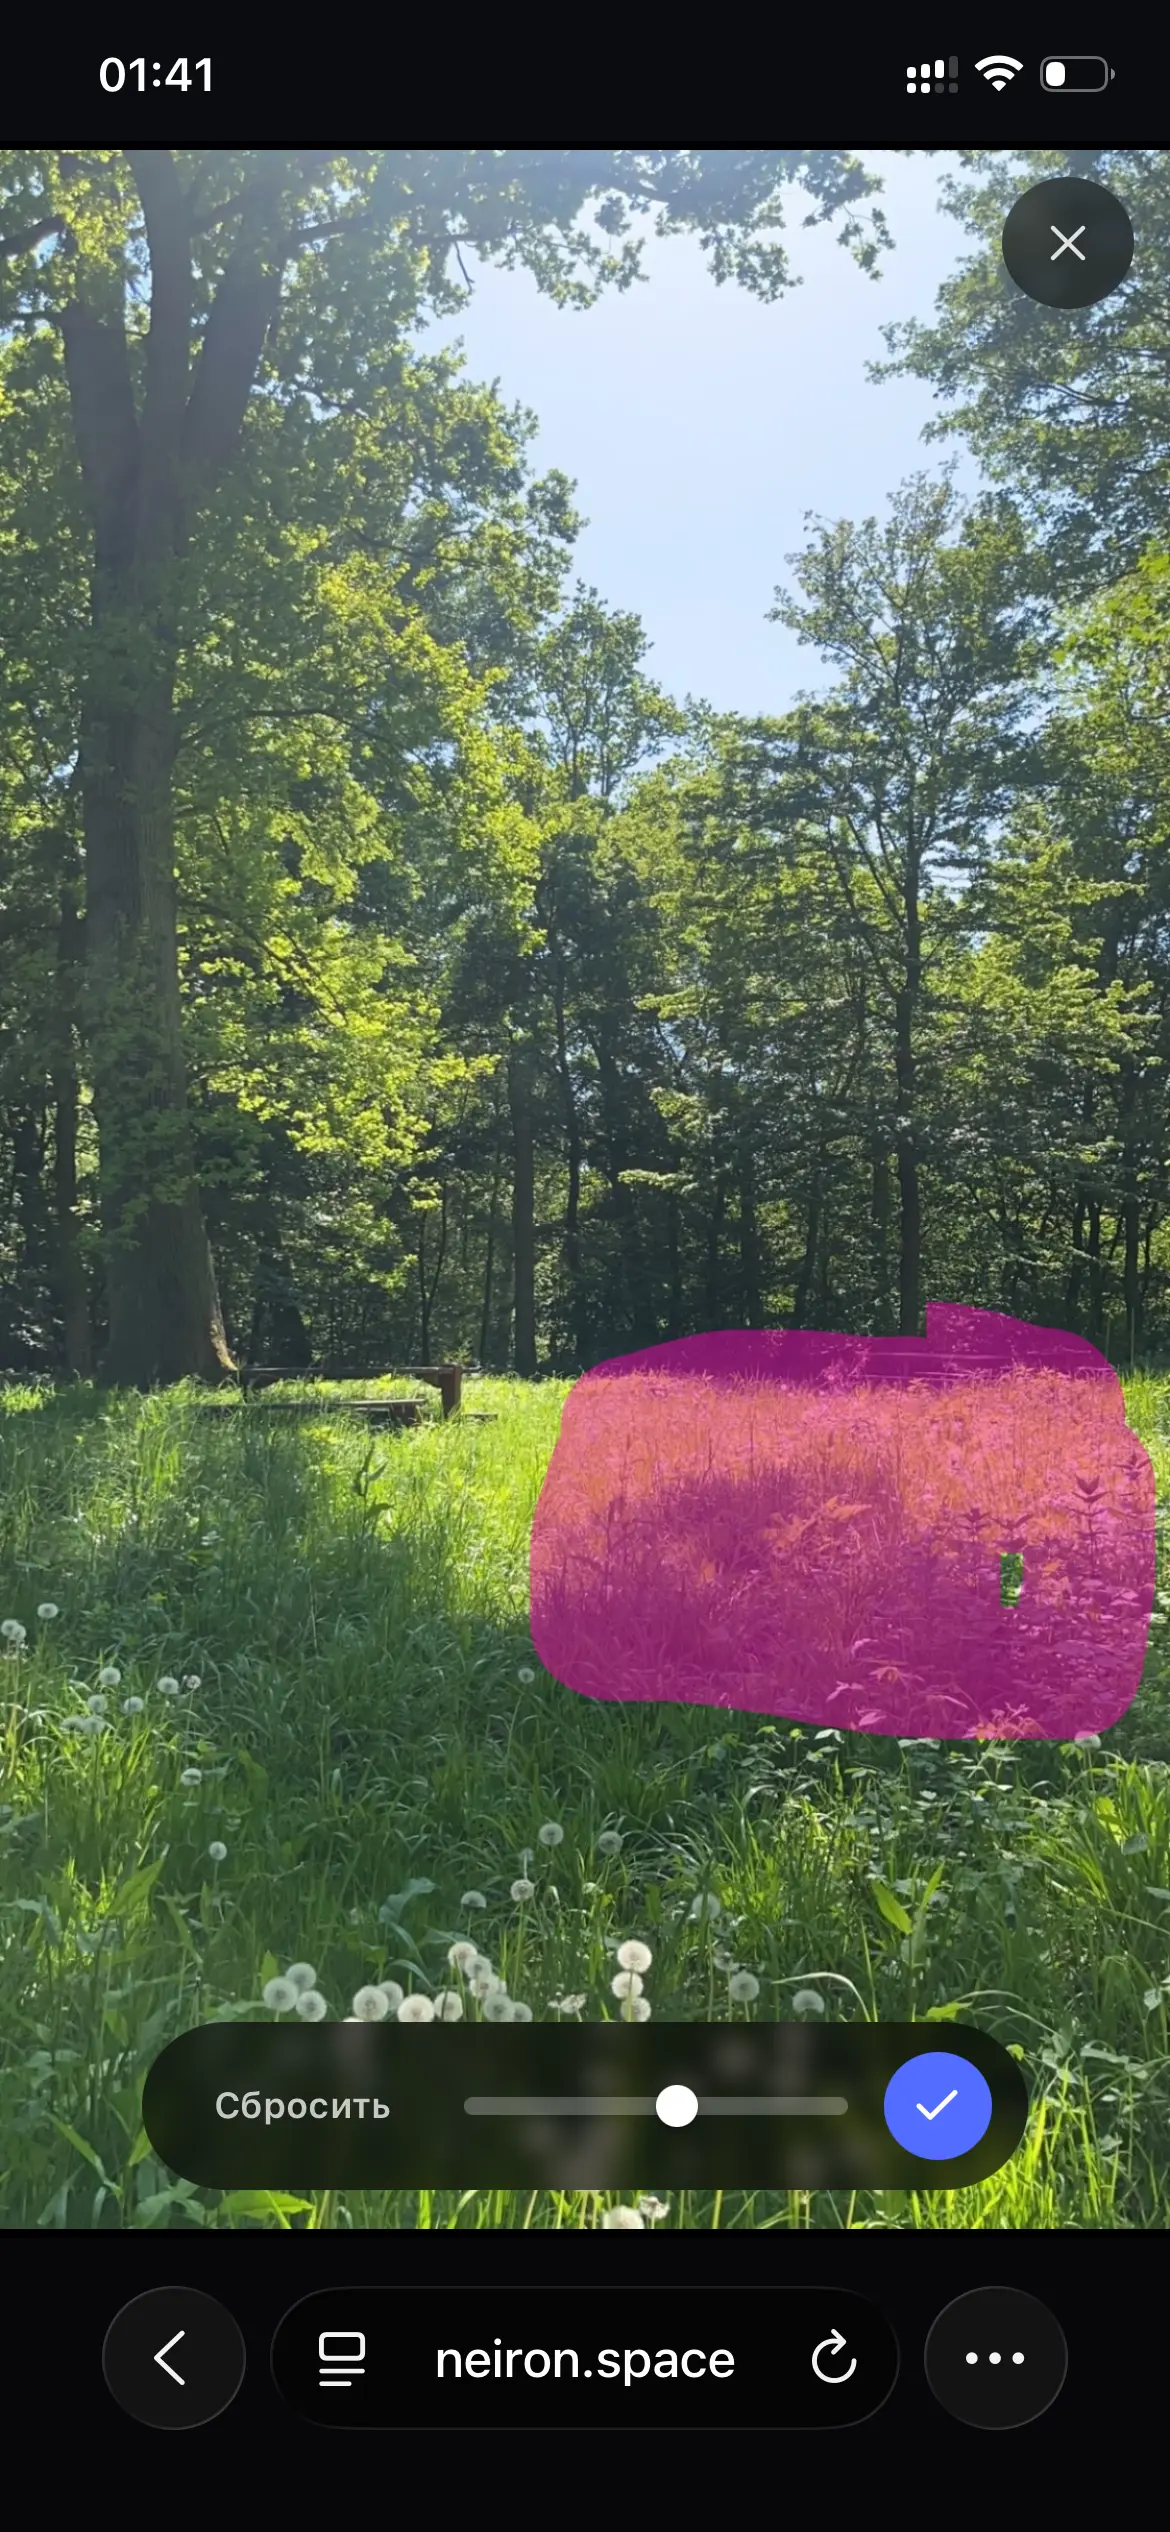
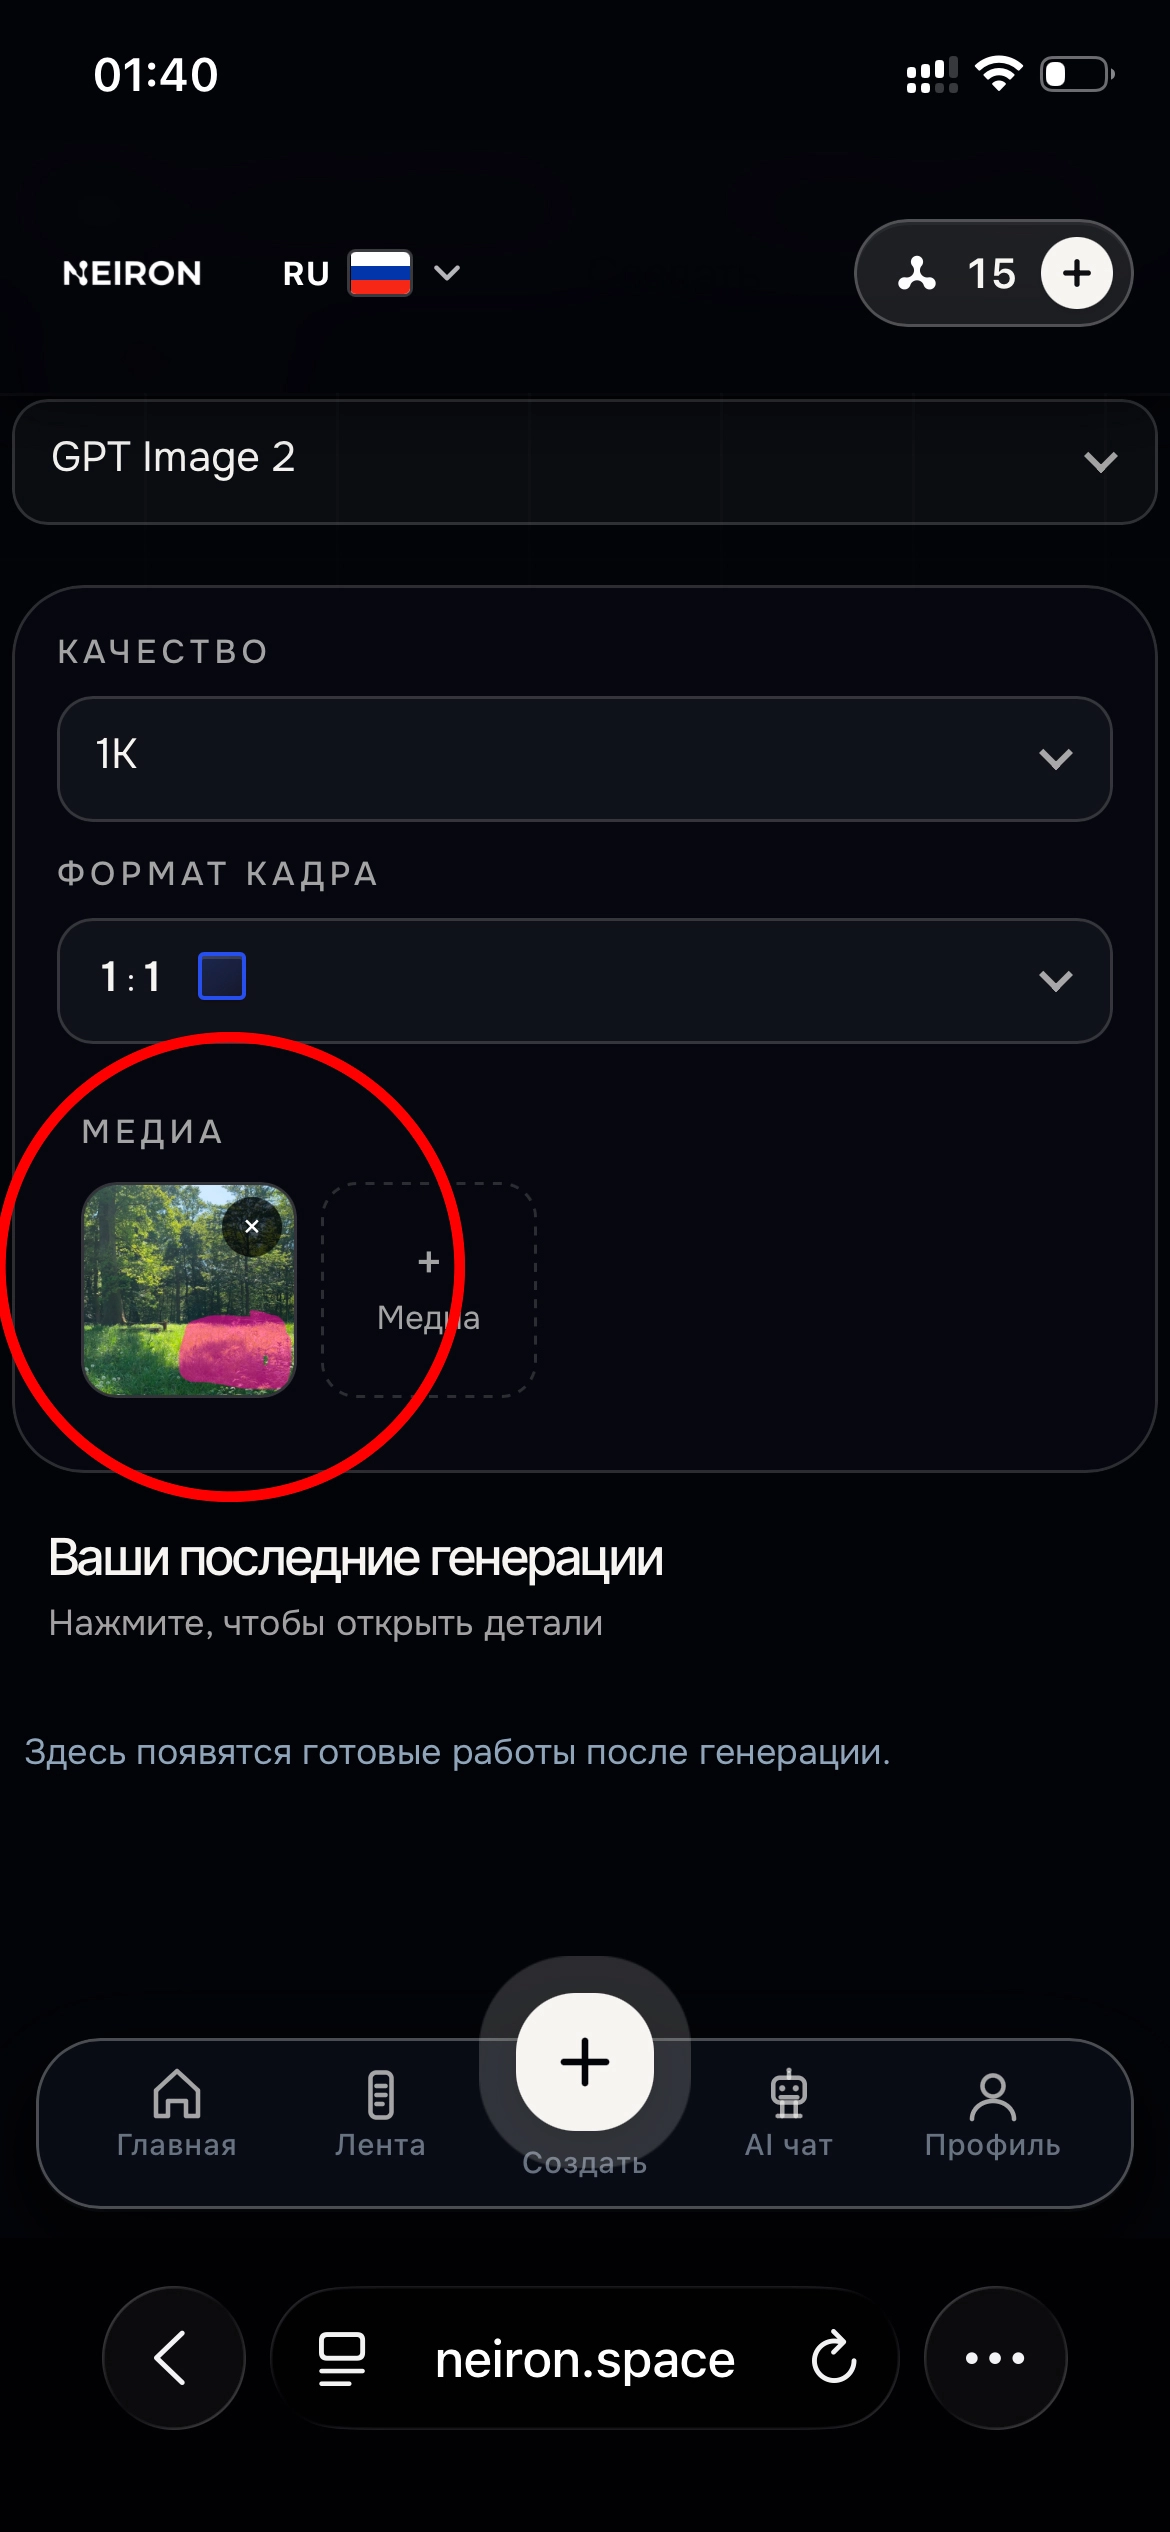
- Tap the checkmark to confirm. The thumbnail in “Media” now shows the marked photo — that is what will be sent to generation.
What to write in the prompt
Describe only the change for the marked spot: “replace the background with a beach”, “change the dress color to green”, “remove the bottle from the table”. You do not need to explain the pink mark yourself — NEIRON already appends that note to the prompt behind the scenes.
That note never shows up in your prompt field, in generation history, or if you copy the prompt later — it is stripped out everywhere it would be visible to you.
You can attach several photos at once and mark only some of them — an unmarked photo is used as an ordinary reference, no mask logic applies to it.
What this is not
- It is not a guarantee: the model still generates the whole frame, it just has a strong visual hint about where to focus. Instruction-following quality depends on the model — GPT Image and Nano Banana Pro tend to respect a marked zone better than models tuned mainly for style.
- Mask mode only works for photos you attach yourself before generating — you cannot draw on an already-generated result.